
- Log in to Google Docs
- Create and share a new word processing document
- Create a form that's attached to a Google spreadsheet
- Update your blog with your thoughts on Google Docs
Watch this short introduction to Google docs to get an idea of what you’ll see when you get to Google docs.
- Log in to your iGoogle page
- Click on “more” in the list of options at the top of the page, and choose “Documents” from the list
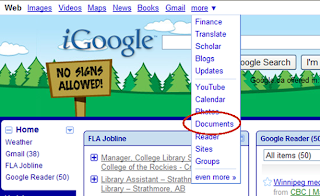
Documents
- Click on the Create New button, and select Document. When your new document pops up, there will be a toolbar at the top that’s similar to the tool bar in Word, and a large blank area underneath that.
- Type something in the blank area. Play around with the fonts and other items on the toolbar so that you can see the features it offers.
- When you are done, click the Save button in the upper right-hand corner of the page. Then click on the Share button. You will be presented with several options, including the ability to send the page as an email attachment or publish it as a web page. When you share your document with other people, you can set them up as collaborators (co-editors) or viewers. You do so by sending them an invitation to the document via email. Go ahead and send yourself an invitation as a collaborator, using your U of S e-mail address. You will be able to attach a message to the invitation
- Now click on the File button. You have several options there, including the ability to rename the document, see the history of revisions, and save the document as a web page. Select “Download file as” and look at the different file formats you can use.
- Click on the Create New button, and select Form from the list.
- The page that comes up allows you to create your form. Give your form a title and, if you like, a short description. Add questions to the form by clicking on the "Add item" button at the top left of the form and selecting the type of question you'd like (for example, multiple choice or typing in text). If you like, you can also change the background by clicking on the "Theme" button and choosing from the options provided.

Open the23 Things Work Completed SpreadsheetAdd your name to the list of participants by clicking on an available cell and typing in your name.Mark off the weeks that you’ve already completed (including this one!).Save the spreadsheet by clicking on File > Save
I may use google doc as a tool. Not certain at this time.
ReplyDelete